Lion’s Lair Trail: Better Way up Mount Sanitas
Lion’s Lair Trail Reading Time: 17 minutes
Welcome! You’re here because you’re looking for some of the best hikes near Boulder. Don’t worry, I’ve got you covered! From Mallory Cave to Mount Sanitas, I’m here to help you find the best hiking trails in Boulder, Colorado. In this blog post, I’ll explain everything you need to know about the Lion’s Lair Trail, which will lead you to the peak of Mount Sanitas.
I use AllTrails Plus when I go hiking. I highly recommend it as you can download offline maps, and send out “lifelines” to friends and family to let them know exactly where you are. You can rate trails, and get inspired to try new ones. The membership is $35/year, but with this discount, it is just $25 for the year. That’s barely $2/month.
Click here to get 30% OFF of your own AllTrails Plus account
Use code: nickiposts30
Boulder Hiking Trail: Lions Lair Trail Boulder
Check out my Lion’s Lair hiking reel on Instagram.
The Lion’s Lair Trail is an excellent alternative to reach the peak of Mount Sanitas. I have hiked up Mount Sanitas so many times, that I was thrilled to learn there was another way to the peak. I like to mix things up and see new places. So if you’re like me, you might love this less-talked-about, alternative way up to Mount Sanitas. You can do the Lion’s Lair Spur loop if you prefer, which is basically one out-and-back loop (much shorter), or you can continue along the Lion’s Lair Trail all the way up to the peak of Mount Sanitas.
The trail is very well marked, so as you can see in the photo below, you can easily choose which path you would like to take.

Must Hike Score:
7/10
I really enjoyed this hike and found it to be a great alternative way to reach the peak of Mount Sanitas. However, if you only have a few days in Boulder, this would probably not be on my list of top 3. If you live in the area, or you’ll be spending an extended period of time in Boulder, then I definitely recommend trying out the Lion’s Lair Trail.
Where is the Lions Lair Trail?
The Lion’s Lair Trail is located along the side of Mount Sanitas. You can reach either Lion’s Lair trailhead easily from the center of Boulder by car, by going west along Mapleton Avenue. Keep in mind that Mapleton Avenue turns into Sunshine Canyon Drive after you pass the Centennial Trailhead parking lot.
How Much Elevation Gain is the Lions Lair Trail?
The elevation gain to reach Mount Sanitas via the Lion’s Lair Trail is 826 feet. There are a few sections along the trail that feel quite steep, but overall the ascent feels slow and gradual.

Getting to the Lion’s Lair Trailhead
Lion’s Lair Trail directions: There are two points where the Lion’s Lair Trailhead begins. You can find them both along Sunshine Canyon Drive, about a 5-10-minute drive west of the Centennial Trailhead. One trailhead begins along the north side of Sunshine Canyon Drive, across the street from where the Sunshine Canyon Trail ends. The other trailhead begins a few minutes further up the road, at the point where there is a sharp 90-degree turn along Sunshine Canyon Drive. However, there is only space for about 9-10 cars in this gravel lot.
I suggest starting at the Centennial Trailhead and following the Sunshine Canyon Trail on foot until it leads you to Sunshine Canyon Drive and the Lion’s Lair Trailhead, especially if you plan on descending Mount Sanitas a different way (ie. East Ridge Trail).
You can see one of the official Lion’s Lair Trailheads in the photo below. It starts just at the top of the stairs along Sunshine Canyon Drive.

Where do you Park for the Lions Lair Trail?
There are two places to park in order to begin the Lion’s Lair Trail. Which parking lot you choose really depends on what kind of hike you are looking for.
Centennial Trailhead Parking
This parking lot is bigger. There is space for about 30 cars to park here. If it is full, you can park along Mapleton Avenue in the residential area. You can easily find this parking lot. It is on the south side of Mapleton Avenue and is well-marked.
Park here if you want a longer hike, or if you want to do a big loop via Sunshine Canyon, Lion’s Lair, Mount Sanitas, and back down either via the Sanitas Trail or the East Ridge Trail.


Lion’s Lair Spur Trailhead Parking
To reach the Lions Lair Trail parking lot, you’ll need to pass the Centennial Trailhead and continue west along Sunshine Canyon Drive for about 5-10 minutes. At the head of the 90-degree turn in the road, you’ll find the Lion’s Lair Trailhead parking lot. It is a smaller gravel lot with space for about 9-10 cars.
Park here if you want to do the Lion’s Lair Spur Loop, or you plan to come back down from Mount Sanitas the same way you went up, along the Lion’s Lair Trail. If you park here, but decide to descend Mount Sanitas via the East Ridge Trail or the Mount Sanitas Trail, you’ll have a very long walk back along Sunshine Canyon Drive to reach your car (about 45 minutes).
Where to Start Hiking the Lions Lair Trail
This really depends on where you decide to park. If you park in the Lion’s Lair parking lot, follow the Lion’s Lair Spur Trail until it hits the Lion’s Lair Trail. Then go left and continue going up.
If you park in the Centennial Trailhead parking lot, follow the Sunshine Canyon Trail west. The trail begins right in the parking lot as you can see in the photo below. Go up those stairs, then turn right almost immediately where you see the Sunshine Canyon trail marker. After about 25 minutes, you’ll reach the road. Cross the road and continue up the road for about 1 minute. There you’ll see the start of the Lion’s Lair Trailhead.
Click here to view the Lions Lair trail map on AllTrails.

Route Description for Lions Lair Trail
The Sunshine Canyon Trail
If you park in the Centennial Trailhead parking lot, you’ll first follow the Sunshine Canyon Trail for about 25-30 minutes until you reach the main road. This trail is relatively flat with even terrain the entire time. It’s an easy hike that goes parallel to Sunshine Canyon Drive. You’ll walk through meadows and have great views of the surrounding peaks. There are also a few parts that are more covered with trees and leaves. It will be obvious where the trail ends. There is a small house with a private property sign. From there you’ll turn right to reach Sunshine Canyon Drive.

From the Lions Lair Spur Loop Trailhead
The photo below shows where the Sunshine Canyon Trail ends and reaches the road. You’ll just need to walk up the road for about 1 minute. The Lion’s Lair Trail begins on the other side of the road at the top of the stairs.
After you go upstairs, the hike starts to get pretty steep almost immediately. The majority of this section of the hike is under the cover of trees, which is great on a hot day. There are several switchbacks that you’ll follow until you reach another meadow, for maybe 45 minutes or so. In the meadow, I saw a couple of deer, which was really peaceful, and I hope you’ll get to have a similar experience.
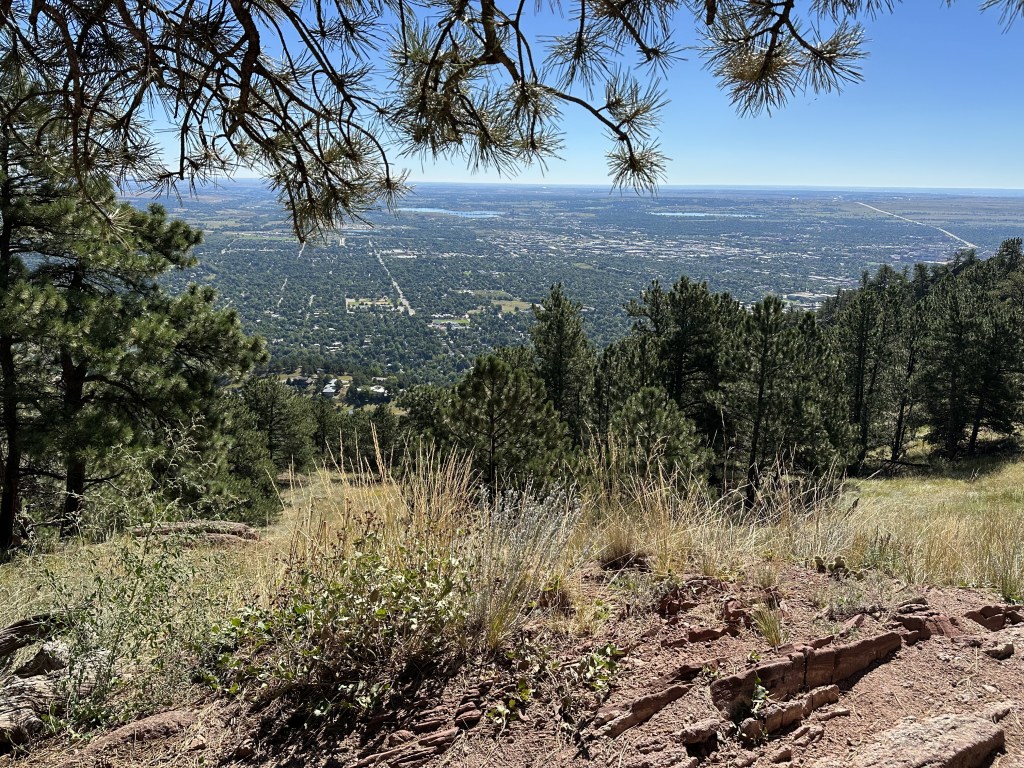
From there, the trail continues to slowly ascend. There are a few rocky and steep sections, but for the most part, the terrain is even and consistent. As you near the peak of Mount Sanitas, the trees will open and you’ll find a few great lookout points with fantastic views.
The trail will suddenly dead end when you’re near the peak of Mount Sanitas. Go left and you’re there! If you go right, you’ll begin the descent via the Sanitas Trail.

Mount Sanitas Peak and Going Down
From the peak of Mount Sanitas, you have 3 options to go back down. You can go back down the same way you came up, via Lion’s Lair. You can also go back down the Mount Sanitas Trail, though it is quite steep going down, so I don’t recommend this if you have bad knees. The last way to descend Mount Sanitas is my favorite way: the East Ridge Trail. The East Ridge Trail goes down the east side of Mount Sanitas. There are quite a few big rocks you’ll need to climb over in the first few minutes. But after that, the trail becomes easier, and the tricky terrain becomes flatter and more even, with several switchbacks leading down the mountain.
Once you reach the end of the East Ridge Trail, you can keep going straight down the Mount Sanitas Valley Trail which is pretty much a direct shot to Mapleton Avenue. If you want just a bit more of a challenge, you can take the Dakota Ridge Trail. This is a trail basically parallel tot he Mount Sanitas Valley Trail, but just up higher on the ridge in the mountains. Great views from up here. The trails are well marked so it will be obvious where to make the turn to get onto the Dakota Ridge Trail.

How Long is the Lions Lair Trail?
It took me a total of 3 hours to complete the entire loop from Centennial Trailhead, up Lion’s Lair, down the East Ridge and Dakota Ridge Trails. However, I took a lot of photos along the way, stopped at the peak for snacks and views, and played along the rocks on Dakota Ridge. If I had just walked straight without stopping, I think it would take me around 2 hours and 20 minutes or so.
The Sunshine Canyon Trail section took 25 minutes. Going up Lion’s Lair took 1.5 hours. Coming back down took one hour.

Is Lions Lair a Hard Hike?
Are you wondering about the Lion’s Lair Trail difficulty? I would say that overall, no, it is not difficult. But there are parts of the hike that can be quite steep with intermediate moderate inclines. There are also quite flat parts along the way. This question depends on your fitness level and comfort in the mountains. I’m very comfortable scrambling on rocks, but I passed a group of people who were struggling to make it down the rocky section of the East Ridge Trail. But I would say the bulk of the Lion’s Lair Trail section is quite easy to moderate. Yes, there is a constant incline, but the trail and sometimes uneven terrain are even and well-manicured.

What to Wear when Hiking Lions Lair Trail
I would definitely not say the Lion’s Lair Trail in Boulder has hazardous terrain, but there are steep and uneven sections, so you should dress accordingly to protect your ankles and knees along the trail, and your face from the sun. Here are a few suggestions:
- Simple athletic shoes/hiking boots
- shorts/pants – I love Kuhl hiking pants
- Athletic top that wicks away sweat
- Light jacket if you go early in the morning in the evening (I LOVE the Cotopaxi windbreaker)
- Fleece in the winter or early spring.
- Sunglasses
- Hat- my favorite is from Cotopaxi
What to Bring when Hiking the Lions Lair Trail
Check out my blog post about the best hiking gear for beginners.
The entire hike may take you 2.5-3 hours, so don’t forget these things:
- Water bottle
- Water bottle sleeve to easily carry your bottle without hands
- Sunscreen SPF
- Hip bag (for keys and things)
- SPF Chapstick
- Step counter watch
- Your phone to take photos
- Snacks
Insider Hints for Lions Lair Spur Loop
- Go early in the morning as it gets hot in the afternoon.
- Park in the Centennial Trailhead parking lot for a longer loop.
- Park in the Lion’s Lair Trailhead parking lot for a shorter loop, or an out-and-back.
- Remember to bring water and SPF.
- Many great photo opportunities around. They get better as you get higher.
- No dogs are allowed on the Lion’s Lair Trail.
- No bicycles are allowed on the Lion’s Lair Trail.
- Stand aside and let other hikers pass if they approach behind you quickly.
- Uphill hikers always have the right-of-way; stand aside for them.
- Take your trash with you. Leave no trace.

Are dogs allowed on the Lions Lair Spur Trail?
No, dogs are not allowed on the Lion’s Lair Trail.
Are bikers allowed on the Lions Lair Spur Trail?
No, bikes are not allowed on the Lion’s Lair Trail.
Looking for a Longer Hike? Lions Lair Trail Add-ons:
Lion’s Lair Spur Loop
If you don’t want to hike all the way to the peak of Mount Sanitas, you can do a more leisurely stroll along the Lion’s Lair Spur Loop. This is a small loop that goes between the Lion’s Lair parking lot, into the mountains and along Sunshine Canyon.
Dakota Ridge Trail
You can add the Dakota Ridge Trail to your hike if you make a big loop and go down the East Ridge Trail on the east side of Mount Sanitas. The Dakota Ridge trail goes along the Dakota Ridge, as the name suggests, which is opposite Mount Sanitas, with the Sanitas Valley Trail in between. It is parallel to the Sanitas Valley Trail but offers more shade as it is in the trees.
Sunshine Canyon
This is a fairly easy hike as it is only 25 minutes on fairly even ground. Not a lot of ascents or descents. It goes parallel to the Sunshine Canyon Drive. You will have to walk along this trail if you park in the Centennial Trailhead parking lot in order to reach the start of the Lion’s Lair Trailhead.

Mount Sanitas Trail
In order to complete the Lion’s Lair and Mount Sanitas Ridge loop, you can go up the Lion’s Lair trail and descend down the Mount Sanitas Trail or vice versa. Click here to read more about the Mount Sanitas Trail.
East Ridge Trail
The East Ridge Trail goes down the east side of Mount Sanitas. There are some large boulders and rocks in the path near the top, but the section of the trail near the bottom has even terrain and several switchbacks. The East Ridge Trail extends between the peak of Mount Sanitas and the base of the mountain where the Sanitas Valley Trail begins.
Anemone Loop Trail
You can easily add this extra trail to your hike if you’re looking for an extension. You can find the Anemone Loop on the south side of Mapleton Avenue. You can reach the trailhead at the junction of the Anemone Loop and the Red Rocks Loop. Click here to read more about the Anemone Loop Trail.
Red Rocks Spur Loop Trail
You can find the Red Rocks Spur Loop Trail on the south side of the Centennial trailhead as well. At the junction mentioned above, you can go west to find the Anemone Loop or east to find the Red Rocks Spur Loop. You can park in either the Centennial parking lot or the People’s Crossing parking lot to find this trail. Click here to read more about the Red Rocks Spur Loop Trail.
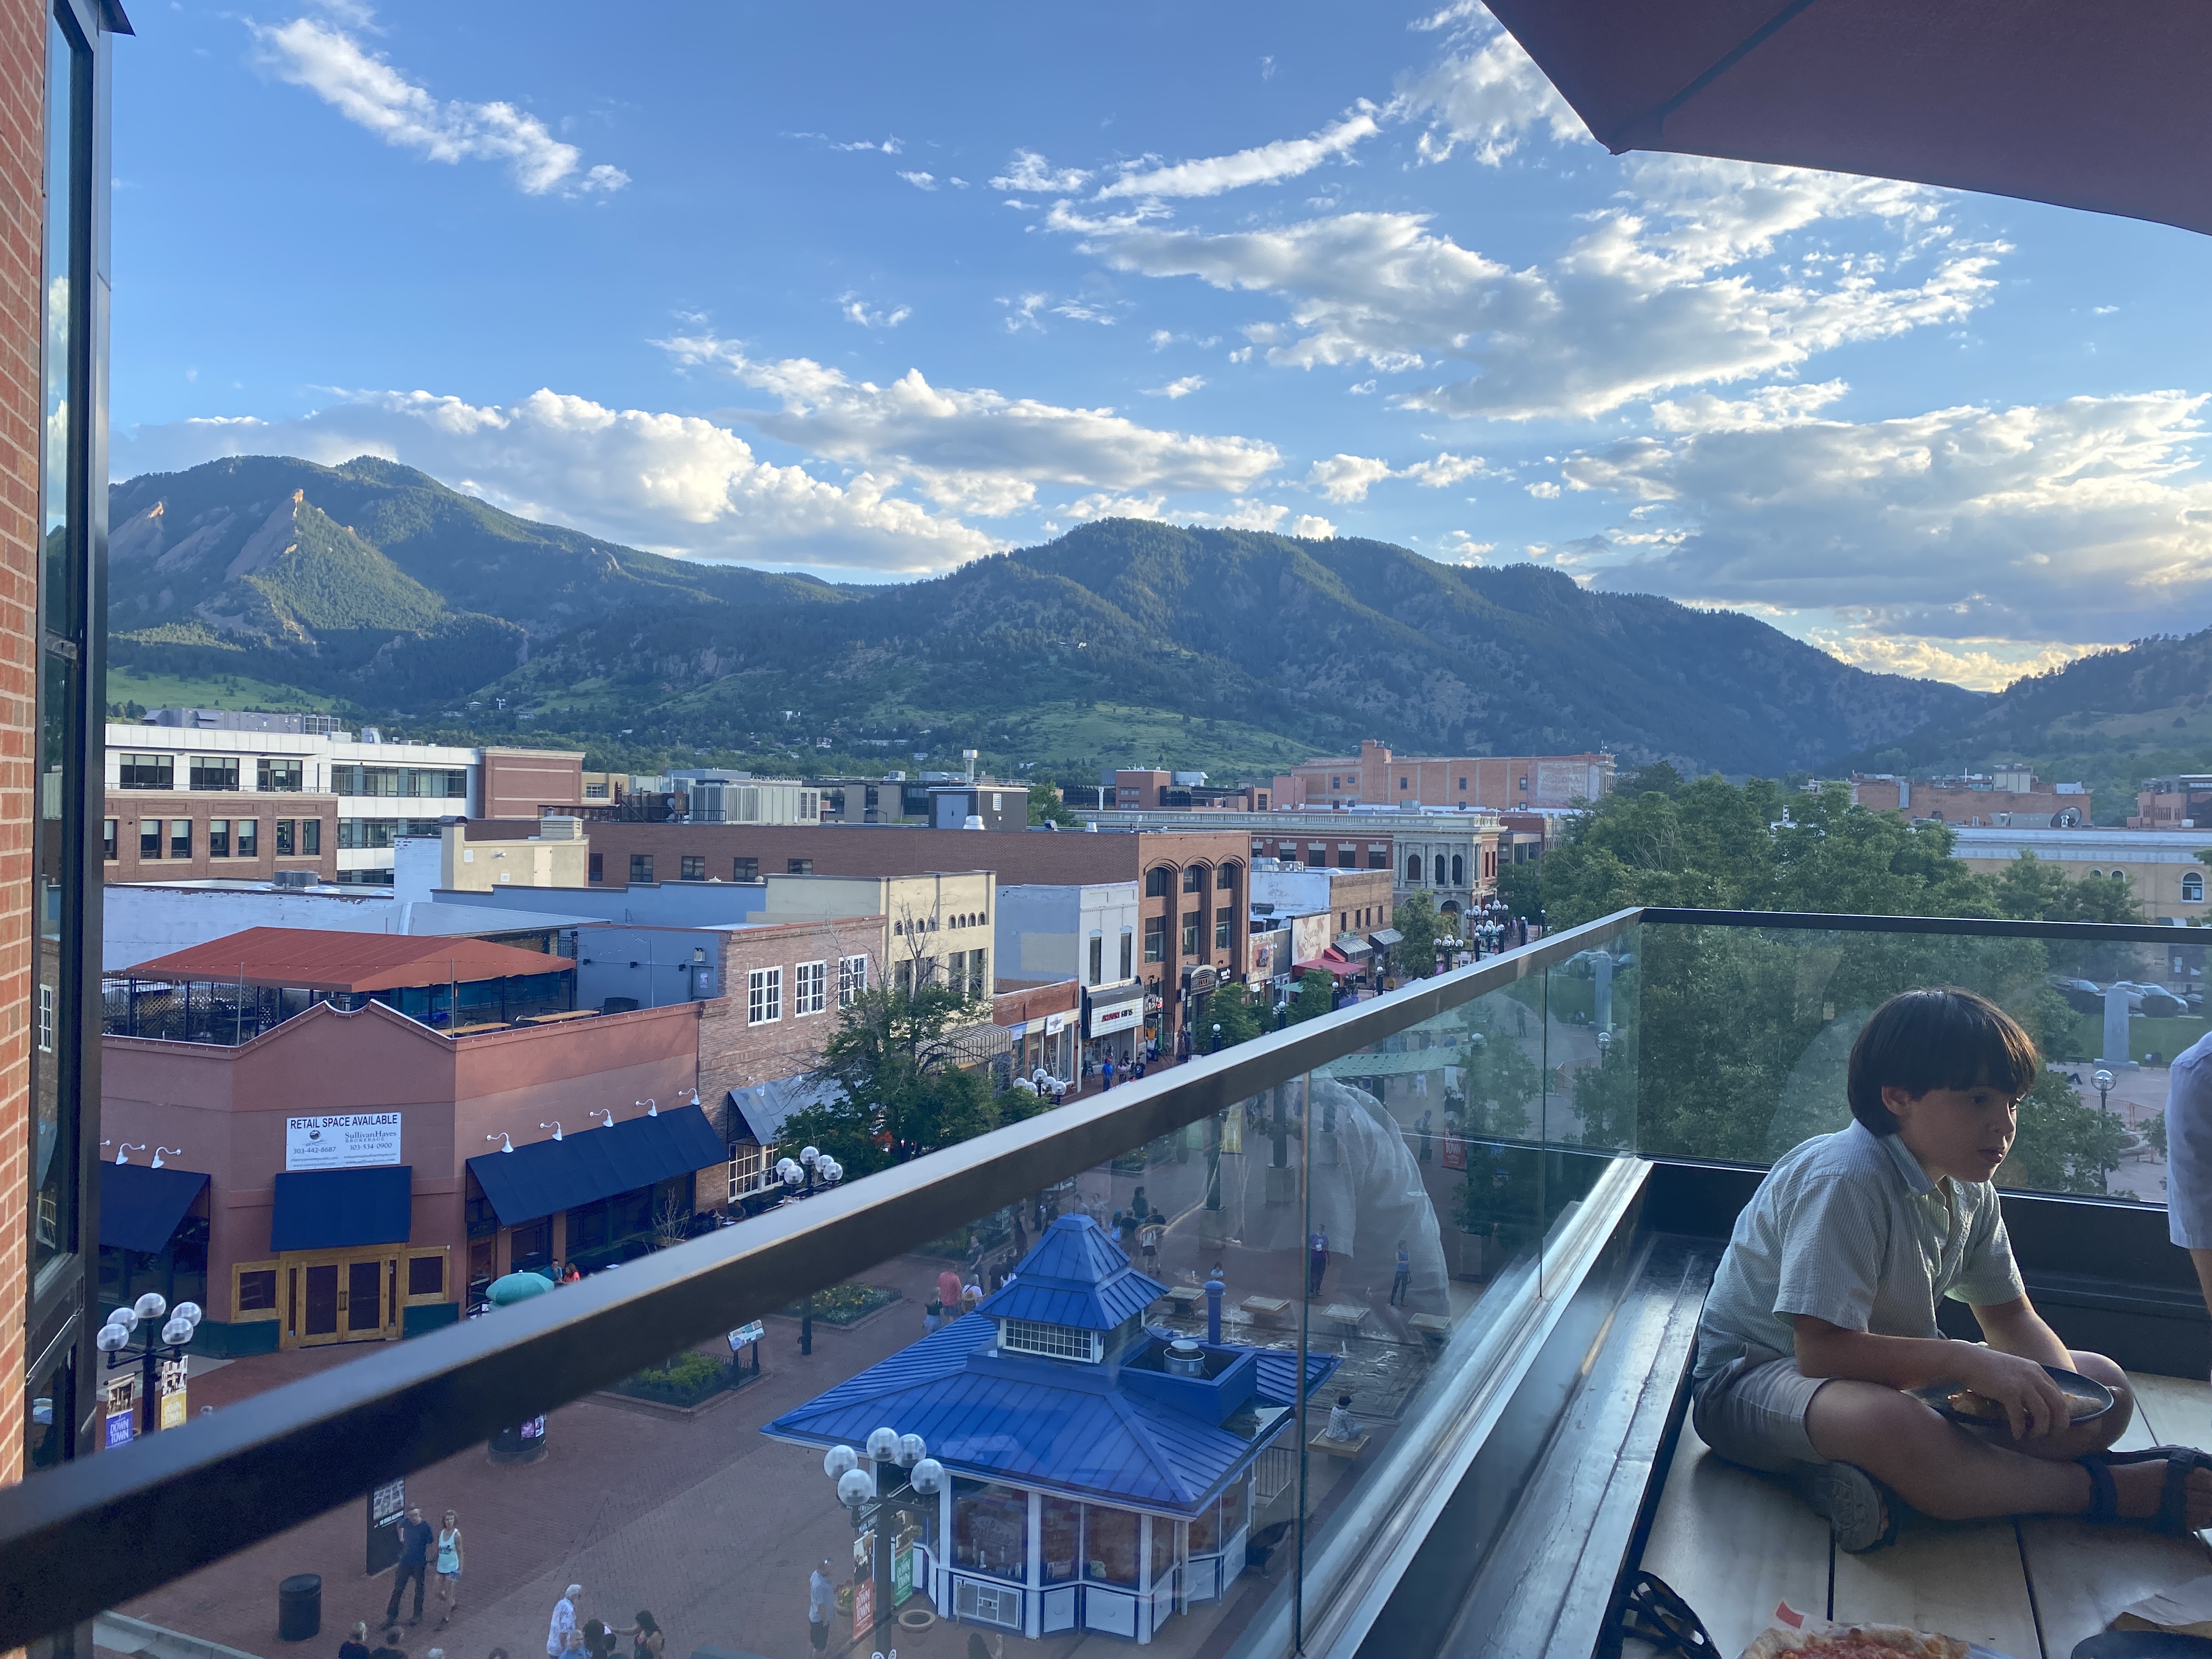
Where to Eat & Drink After Hiking the Lion’s Lair Trail
OZO Coffee
Ozo Coffee is located on the west end of Pearl Street. It’s a Boulder favorite. It’s a great place to get a post-hike treat and a coffee or tea while people watching.
Sherpa’s Adventure Restaurant and Bar
This is a lovely restaurant with fantastic outdoor seating where you can enjoy the warm air and delicious chai tea. Oddly enough, it’s also a great place to watch a game. They have a TV and a small bar inside that is perfect for a cozy gathering for sports fans.
Lucille’s Creole Cafe
Lucille’s is a wonderful breakfast spot and another longtime Boulder favorite. It’s inside an old house filled with delicious smells and creole treats.
Where to Stay in Boulder near the Lion’s Lair Trail
If you have come to visit Boulder to be close to nature, here are a few suggestions for the area:
Hotel Boulderado
Description:This is an historic hotel in downtown Boulder, one of the town’s oldest. It’s located just one block off of Pearl Street. You can easily walk to the Red Rocks Loop trail from here. There is a restaurant and bar on-site, though there are several around in the area as well.
Price: Rooms range in price from $250-$400 in the summer, and around $100 less in the winter.
Foot of the Mountain Motel
Description:This motel is located just next to Eben G Fine Park and about a 5-minute walk from the Red Rocks Spur Loop trailhead. Bike rentals are also available. Breakfast is included. One free parking space is allotted to each room. This place is highly recommended by friends who have stayed here.
Price: Rooms are around $200 – $300/night in the summer and can go as low as $125/night in the winter.
Boulder Adventure Lodge
Description:This is a self-described “convening point for the outdoor-minded.” This is a hostel and community space that offers private rooms as well as dorm beds, though the hostel room is specifically for out-of-state travelers.
Price: A bed in the hostel dorm room runs about $60/night, while the private rooms can go from anywhere between $200-$300/night.
Lion’s Lair Trail Final Thoughts
The Lion’s Lair Trail is admittedly not my number one favorite trail, but it is definitely worth a hike if you have the time. There are fantastic views, wildlife, and nature all around you. It is also a very easy trail to reach from downtown Boulder. Happy Hiking!


TRAVELING SOON?
INSURANCE: Cover yourself with travel medical insurance by SafetyWing.
FLIGHTS: Get the best flight deals with Skyscanner and set flight alerts with Hopper.
STAYS: Check out hotels and apartments with Booking.com and Vrbo.
RENTAL CARS: Get the best deal on rental cars with Discover Cars or RentalCars.
GOING HIKING? Get a 30% discount off your yearly AllTrails+ Account (code: nickiposts30)
eSIM: Get an international eSim with Airalo.
CITY GUIDES: Save time and purchase pre-made city guides with Thatch.
CITY TOURS: Book your tour with GetYourGuide and Viator
LUGGAGE: Get the best carry-on suitcase here.
CREDIT CARD: Start earning travel points with the best travel credit card.
BUENOS AIRES GUIDE: Purchase my Buenos Aires travel companion here.
CONSULTATION: Book a 1:1 travel consultation with Nicki here.
SUBSCRIBE: Get the Nicki Posts Travel Stuff newsletter every month.
TRAVEL BETTER: Check out my Travel Tips and best Travel Resources pages.
MORE? Check out more on my LINKS page to find me in more places!


You must be logged in to post a comment.